It might not seem important, but if you play the drums, you know how annoying it can be when your chair moves around. It’s simple to lose your balance, miss a beat, or even get a sore back when your seat moves around. The good news? Most of the time, it’s quick and easy to fix. This step-by-step article will help you get your drum throne stable and comfortable again, whether you’re playing at home or at a show.

Step 1: Figure Out What Kind of Drum Throne It Is
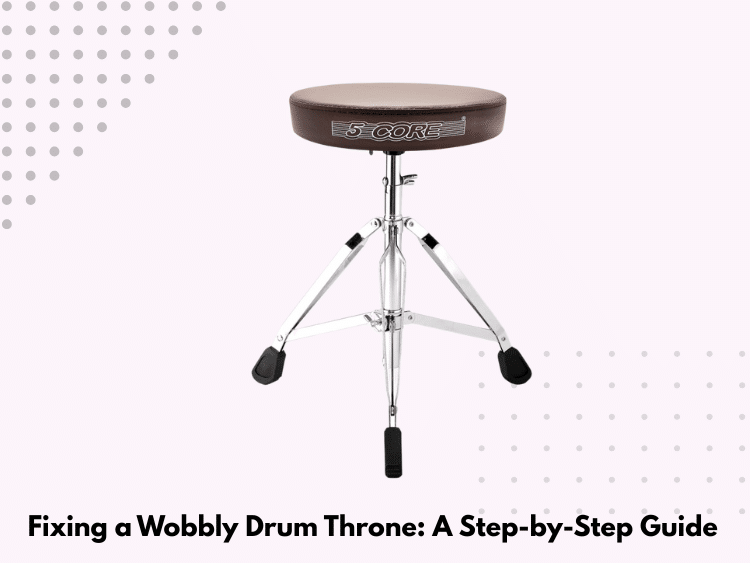
There are various types of drum thrones, and the repair may be different for each. These are the two main kinds:
- Tripod-style thrones have three legs and a movable center shaft. They are the most popular type.
- Spindle-style thrones have a threaded post that can be screwed up or down to change the height.
If you’re unsure how to adjust or use your throne for maximum comfort and support, check out our guide on how to use a drum throne for maximum comfort.
Step 2: Get the Right Tools
A few simple tools can fix most problems with a drum throne:
- A drum key is often used to tighten hardware nuts.
- A screwdriver with more than one head (Philips and flathead)
- Allen wrenches (4–6 mm for throne bolts are common sizes)
- Wide-range wrench
- WD-40 or lubricant spray for lubrication
- Thread locker (not required, like Loctite)
For tips on effective maintenance and to learn how to use your throne for better performance, visit our guide on how to use a drum throne effectively.

Step 3: Check All the Screws and Bolts
First, turn the throne over and look for screws that are loose or missing. Problem areas often include:
- The clamp for adjusting the height
- The bolts that hold the seat to the base
- How the tripod legs connect
Fix any links that aren’t tight enough with a screwdriver or Allen wrench. If you find missing screws, try to get ones of the same size from a music store or tool store and put them in.
Step 4: Make the Height Adjustment Clamp Tighter
One of the most common reasons for wobble is a loose height control device. The clamp might not be holding properly if your chair moves or slides down while you play.
- For standing thrones, look for the wing nut or T-bolt on the collar that holds the shaft. Make sure that it’s really tight. If it still won’t grip well, look inside the collar for metal or plastic pieces that are worn out and may need to be replaced.
- Make sure the closing nut on the spindle throne is tight against the seat base. If the thread is worn down, you may need to get a new threaded shaft or plug for the seat.
Step 5: Look at the Joints in the Legs
A tripod throne’s legs can come loose over time at the turning places or where they meet the center tube. Twist and turn each leg of the throne slowly to see if there is any give. To make the bolts that hold the legs to the frame tighter, use your wrench or screwdriver. If the leg joints are wearing out too quickly, you might need to add a screw or shim to close the gap and stop the furniture from moving.
If you need further instructions on using and maintaining the throne parts properly, check out our creative ways to use a drum throne.

Step 6: Make Sure the Seat Mount Is Stable
The seat mount is where the base and the top meet. This could be a metal plate with four screws on some types, or it could be a frame with a bolt or pin. If the seat moves without the base moving, the link is probably not tight. Tighten all of the screws that hold the seat in place. If they keep coming loose, put a little thread locker on each screw before putting it back in place. This will keep them from coming loose again.
Step 7: Grease the Parts That Move
If your chair squeaks or won’t go up or down smoothly, you may need to grease it. Use WD-40 or silicone spray on a small area to:
- The shaft for adjusting the height
- The spinning throne’s threads
- Any places in the leg joint where it can turn
Be careful not to use too much oil, because it can get on your clothes or the floor.
Step 8: Make Sure It’s Stable
Once everything is right, put the chair on a flat surface and take a seat. Move your body a little from side to side and front to back. If you still feel the shake, check again:
- Are all of the screws tight?
- Do you have an even spread of base?
- Do the legs touch the floor all the way through?
A chair may feel unsteady if the floor isn’t level or if the rubber feet are broken. If so, you might want to get new foot caps or use a drum rug to make the playing area flat.

Step 9: Do Regular Maintenance
To keep your chair in good shape:
- Check every bolt once a month.
- Do not tighten too much, as this can damage the threads.
- It won’t rust if you keep it somewhere dry.
- When taking your drums to gigs, use a bag for the tools.
Having a stable drum chair helps your balance, stamina, and effectiveness. As part of your normal gear repair, you should keep it in great shape.
Last Thoughts
It’s not just annoying when your drum chair shakes; it can also hurt your body and your playing. The good news is that with a few simple tools and some care, most problems can be fixed in less than 30 minutes. If you do the things above, your gear will last longer and your drums will stay steady and relaxed.