A good drum throne does more than offer a seat; it is crucial to how a drummer plays. A comfortable and secure position allows you to concentrate perfectly, without being bothered by anything, during recording, practice or a live gig. On the other hand, having a drum throne is not enough on its own. If you make proper adjustments, your form, posture and comfort will all get better, and your dance will become smoother. This article will explain how to optimize your drum throne for better results.
Why Proper Throne Adjustment Matters
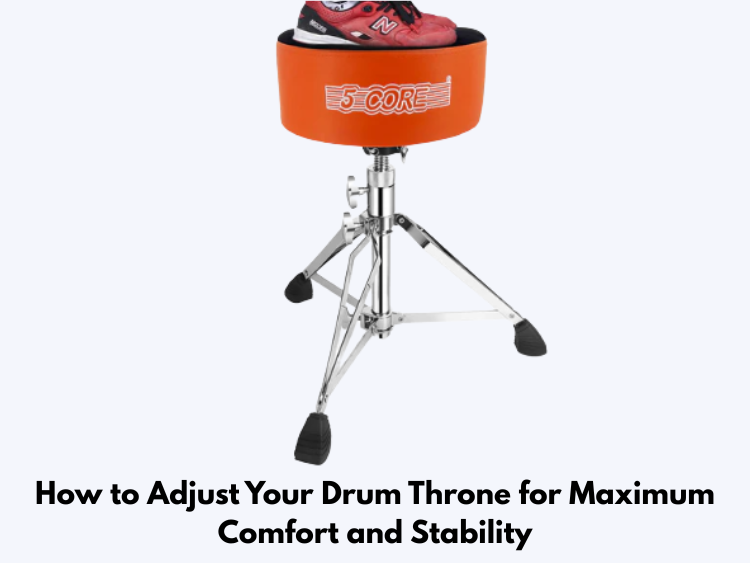
Playing drums requires you to be both flexible and stable. There are risks to your body and posture if your drum throne is wobbly, sits too low or is too high. It’s possible to develop poor posture, pain in your legs or back or notice that pedalling is more difficult for you. Yet, if you place the throne the right way, it allows you to sit straight, reduces stress on your body and enables you to hop on and off with ease. You’re more relaxed and safe during your drumming practice. If you’re new to drumming or looking for budget-friendly options, consider reliable brands like DW (Drum Workshop), 5Core Drum Throne, Tama, and Mapex. These brands offer beginner-friendly thrones that combine comfort, stability, and durability without costing a fortune.
If you’re new to drumming or looking for the best affordable options, you might want to check out the best value drum thrones for students and beginners to find a seat that offers solid comfort without breaking the bank.
Step 1: Find the Right Height
The most important feature is the adjustable throne height. Keep your feet level with the floor or pedals as you have a seat. Knees should be slightly below your hips and your thighs need to be either level or tilted a little downward. It reduces the risk of getting back pain and improves your body’s alignment. Don’t let your limbs make you feel as though you have to extend your legs to reach the pedals. A throne that’s elevated too much may result in body aches and losing your balance, while one that’s too low causes leg discomfort and tired muscles.
Step 2: Adjust the Seat Angle
Some drum thrones come with adjustable seat angles. If your seat tilts, try tilting it slightly forward to support the natural curve of your lower back. Don’t tilt it too much forward or backwards, or you might feel uncomfortable or start sliding around. If your throne doesn’t tilt, just focus on sitting up straight and keeping good posture to stay comfortable while playing.
Step 3: Ensure Stability
A stable throne is essential, especially when playing fast or heavy beats. Make sure the tripod legs on your throne are fully extended and locked in position. Rubber feet help prevent slipping, so make sure these are clean and undamaged.
Your throne may feel wobbly or uneven due to loose screws or an uneven floor. Tighten all adjustment bolts and replace worn parts as needed. Consider placing a small rug or mat underneath to help with balance and traction on uneven surfaces.
If durability is a concern for you, especially with heavy or frequent use, it’s worth reading our detailed review on the toughest drum thrones on the market. This guide helps you find models that can stand up to rigorous playing without compromising stability.
Step 4: Test Your Comfort and Mobility
To determine your comfort level, play simple beats and fills for a few minutes after adjusting the height and stability. Pay attention to your back, hips, knees, and feet. Can you reach the pedals with ease and without strain? Does your posture make you feel relaxed and at ease? If you feel uncomfortable, stop and adjust your position.
As you would if you were performing, move around the kit. It should be easy for you to move and rotate your throne without losing your equilibrium. If you shift a lot or feel unstable, check your height or stability settings again. For a comprehensive walkthrough, check out our step-by-step guide on how to properly set up your drum throne for optimal comfort.
Step 5: Personalise with Padding and Seat Shape
Different drummers have different preferences for the padding and shape of their seats. While some prefer firmer, saddle-shaped seats for improved posture, others prefer thick cushions for extended use. Consider upgrading to a more ergonomic seat or adding a gel cushion if your current one is uncomfortable. While firmer seats are ideal for shorter sessions, additional padding can help avoid soreness during extended playing sessions.
Final Tips for Throne Adjustment
- Try to find the right seat before you start playing, as minor moves can make things more comfortable while you’re seated.
- It is important to change the height of your throne every time you change how your drums are set up, due to different height requirements.
- Be aware of your body’s warnings while playing and after you finish. If your pain lasts, it may be time to adjust your throne.
- A proper chair and practiced good posture will help you the most.
Conclusion
Your drum throne is the base for everything — when it suits you best, you can play better and without bad posture. If you properly set your throne’s height, angle and stability, you are positioned for success, regardless of your experience. Invest a little time in adjusting your seat and you will feel the difference with both your body and your playing.


